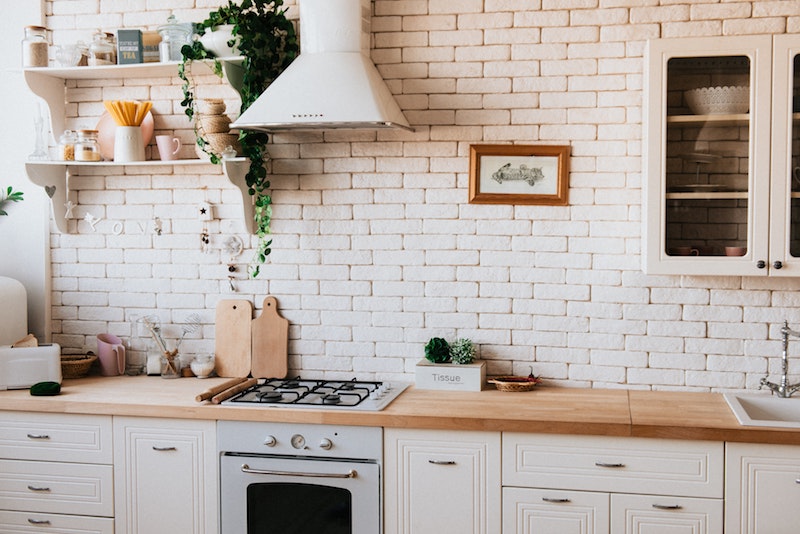
If you want to update your cabinet with an astonishing new look, after all the grease and dirt those doors and hardware have sustained, painting them would probably be the best option you should go for.
A few coats of paint and there you go! It seems simple right? Well, it’s not as easy as it seems to be. It is a multi-step process, and there are many things which people tend to skip.
Here are such common mistakes:
-
Making an improper plan while removing the Doors, Drawers, and Hinges:
The most important step which many people skip is planning. The best thing to do before starting off to paint is labeling or making a drawing of the doors and drawers. It is done so that you don’t have to face problems while screwing the doors back to their positions.
Remove all screws and hinges, store them in pouches and label them properly. You can either use acrylic latex paints or oil-based. Latex paints are easily removable and virtually odorless, although oil-based paints provide smoother surfaces
Not sanding and filling up the nasty looking debris on the wood:
People don’t sand their doors and simply start painting on the bare wood. You must always sand off your doors and drawers, to provide them with a smooth coating. Sanding makes your wood appear a little glossy. Using sandpaper of 150-200 grit is recommended.
You can use wood filler to fill up those holes and bumps on the doors and drawers. Let it dry for some time. Next, apply medium to high grain sandpaper to make the surface smooth to paint. Use a piece of cloth and warm water to remove all the debris by gently wiping the surface.
-
Forgetting to use a primer before painting:
After cleaning the drawers, you must use a paint primer for the paint to remain adhered to the surface. Two coats of primer are generally needed, but always sand the wood after each coat. In larger areas, you can use a mini-foam roller to spread the primer all over the surface. The motive is to leave no surface uncoated with primer.
-
Not cleaning the doors and drawers prior to painting:
Cleaning the hardware before painting is a must. Otherwise, adding water based-paint on an oil-based door doesn’t last. TSP (Trisodium Phosphate), a paint-prep degreaser and cleansing agent, can be used to remove all the grease and stains on the doors. Before opting for cabinet painting, you must always clean the wood, no matter how tidy it might look.
-
Painting in the wrong order:
Before painting the final coat, sand the wood again. If you want to paint the inside of the cabinets too, start from the back and work your way out. Even in case of doors, always paint the rear, and then the front.
If you rush and flip the doors too soon, the smudged area will remain at the back, unnoticed. Hence, you do not have to paint it again.
-
Wrong paint, dollars drained!
It is advised that before you go on to paint, you must apply it on a piece of poster board and place it along with your appliances to see if that is the exact color you want. You can get a tester can before you purchase the paint. It is something you are going to do once in a while, so choose wisely.
-
Don’t rush, have patience!
After all the grind work, it seems impossible for one to wait for putting the doors and drawers back in place and see how amazing his/ her cabinet looks. But, you need to hold your horses and wait for the paint to dry up because, if you unintentionally smudge the paint, you have to sand the doors and drawers and paint them again.
Conclusion:
Everyone wants to get their cabinet to be perfectly painted for the first time itself. So, you must keep in mind the above-stated common mistakes which people usually make. Work according to the four steps, namely, degreaser, sandpaper, primer and paint; and you will be next to perfect.
Remember that the quality of your work depends on how well your preparation is, and how wisely you have chosen your products.


 POSTED BY

