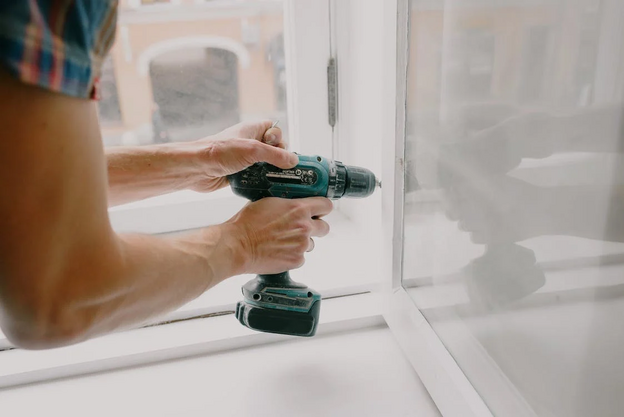
There are lots of simple home repairs you can do yourself, from replacing broken tiles to unclogging dishwashers. Regardless of the exact kind of repair around your home that you are planning on tackling, here are six helpful tips to ensure you carry it out correctly.
1. Thoroughly Understand the Problem
Before you dive into repairing, it is essential to understand the problem entirely. That means identifying what the issue is and then investigating possible solutions. Reading manuals or watching online tutorials can provide valuable guidance.
Learning some basic skills can make a big difference in how well you manage the home repairs you undertake, so make sure you research the problem and know how to fix it before you begin carrying out the work.
2. Plan Your Work in Advance
Once you know how to fix a specific repair, ensure you plan your work before you begin. That could involve listing each step you need to take and making sure you have the right tools available. It could also involve doing things like measuring and sketching rough visual plans.
Preparing a roadmap for your repair is not just beneficial for the organization. It can also prevent errors from happening due to hasty improvisation.
3. Know Where to Buy Spare Parts
For some home repairs, like fixing appliances, you may require spare parts. Therefore, knowing where to buy spare parts before you start a job will prevent unnecessary delays. It also ensures that you get quality and compatible components.
Thankfully, you can quickly and easily purchase quality spare parts online for appliances like washing machines, ovens, vacuum cleaners, fridges, and dishwashers.
Using the right part will not only fix the problem but also prolong the life of your appliance. So, always be prepared. Know where to source your replacement parts before jumping into any repair project.
4. Always Use the Right Tools
One crucial tip for carrying out home repairs is always to use the right tools. It could be tempting to resort to whatever you have at hand, like using a knife instead of a screwdriver. However, this often leads to more damage in the long run.
5. Invest in Quality Tools
Following on from the last point, it could be tempting to save money by buying cheaper tools, but investing in quality ones can pay off in the long run. Good tools not only last longer but also offer better performance, which makes your repair work more efficient and less stressful.
6. Make Safety a Top Priority
No matter how small the repair task may seem, you must prioritize safety measures. That could include wearing protective gear like goggles or gloves and ensuring your workspace is clear of hazards and clutter before starting your repairs.
When carrying out your home repairs, maintaining a clean and organized workspace is crucial. That means putting tools back in their place once you are done using them and cleaning up any mess created during the process. A tidy environment reduces the risks of accidents and increases efficiency.
Tips for Specific Repair Projects
Now you know the best tips for carrying out your own simple repairs around your home, let us take a look at some common home repairs you may need to tackle.
Leaky Taps
Leaky taps are not just annoying. They also wastewater and impact your utility bills. The problem typically revolves around worn-out components.
Thankfully, you can replace most yourself quite easily with parts from a local hardware store or online retailer. If you do not know how, you can learn. Remember to turn off the water supply before you start.
Squeaky Door Hinges
For annoying squeaky doors, you can often solve the problem quickly without professional help. Apply some petroleum jelly or lightweight oil on the hinges while continuously moving the door back and forth until the squeaking stops.
Clogged Dishwashers
When your dishwasher is not draining correctly, first check the drain basket for debris. If that does not help, you may have a blocked drain hose. If you identify that that is the problem, detach the hose according to the manufacturer’s instructions and run water through it to clear any blockages. Remember to disconnect the power before you start work.
Broken Tiles
A broken tile does not mean you have to redo an entire floor or wall. Use a grout remover tool to help you remove the grout around the broken tile. Then, carefully pry out the pieces of old tiles while avoiding damage to the adjacent ones.
Clean the adhesive from the empty space and apply the new tile with fresh adhesive. Finally, reapply the grout after the adhesive dries. Simple!
The Takeaway
You can save time and money by carrying out simple home repairs yourself. And by following the above tips, you can ensure success.


 POSTED BY

